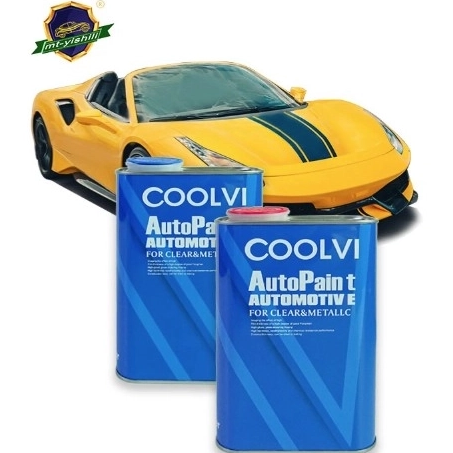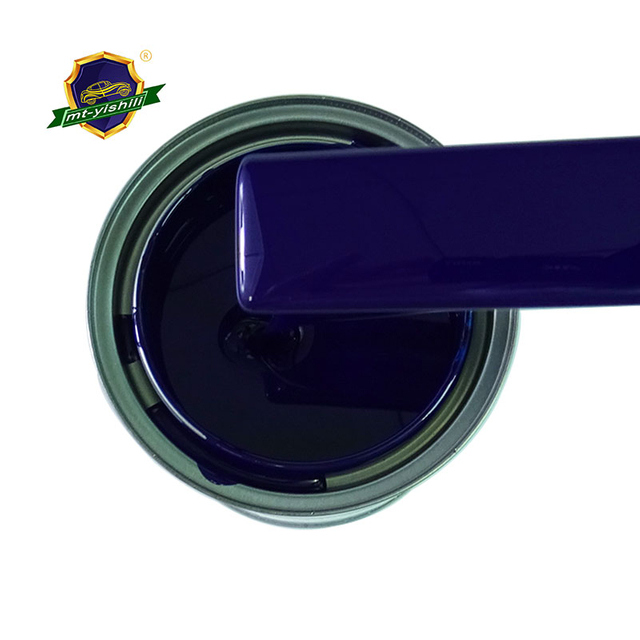
Touching up automotive paint is a necessary skill for any car owner or automotive enthusiast who wants to maintain the vehicle's appearance and protect it from the elements. Whether it's a small chip, a scratch, or a larger area that needs repair, the process of touching up automotive paint can be straightforward and rewarding if done correctly. In this article, we will provide you with a detailed guide on how to touch up automotive paint. We will cover everything from preparation to application, and explain how to achieve a professional finish.
Understanding Automotive Paint
Before diving into the specifics of how to touch up automotive paint, it’s important to understand the different types of automotive paint available and their components. Automotive paint differs from household paints in both composition and durability. It needs to withstand extreme weather conditions, resist scratches, and maintain a glossy finish for years.
Types of Automotive Paint
Automotive paint comes in several types, each offering distinct characteristics. The most common types include:
Acrylic Lacquer: This paint is known for its fast-drying properties and high-gloss finish. It is ideal for small touch-up jobs and projects that don’t require the extreme durability of other types of paint. However, acrylic lacquer is more prone to fading and cracking over time compared to other options.
Acrylic Enamel: A more durable option than lacquer, acrylic enamel provides long-lasting protection and a glossy finish. It is highly resistant to UV rays, making it a great choice for exterior applications. It is a common choice for those who want a more robust finish for their vehicles.
Polyurethane: Polyurethane paint is commonly used for high-performance vehicles. It provides excellent resistance to chemicals, abrasions, and UV light. Polyurethane offers superior protection against the elements and is generally used for high-end automotive finishes.
Base Coat/Clear Coat System: This two-layer system is the standard for most modern automotive painting jobs. The base coat provides the color, and the clear coat adds a protective, glossy layer. This system provides long-lasting results and is favored for its high gloss and durability.
Components of Automotive Paint
Automotive paint is composed of three main ingredients:
Pigment: The pigment gives the paint its color. It can be organic or inorganic and is responsible for the shade and depth of the color.
Resin: The resin is the binder that holds the pigment particles together and allows the paint to adhere to the car’s surface.
Solvent: The solvent thins the paint, making it easier to apply and ensuring that it flows evenly. Once the paint is applied, the solvent evaporates, leaving the pigment and resin behind.
Each of these components plays an essential role in ensuring that the automotive paint adheres well to the surface, is durable, and provides the desired finish.

Preparation for Touching Up Automotive Paint
Proper preparation is critical to ensure that your touch-up job looks seamless and lasts for a long time. A successful paint job requires cleaning the damaged area, choosing the right paint, and ensuring a smooth surface for the paint to adhere to.
Tools and Materials Needed
To touch up automotive paint, you will need the following tools:
Touch-Up Paint: Make sure to use the correct color code that matches your vehicle’s original paint. This can typically be found on the car’s VIN plate or in the vehicle manual.
Clear Coat: If your vehicle uses a base coat/clear coat system, a clear coat will be required to protect the new paint and add gloss.
Sandpaper: Fine-grit sandpaper (around 2000-grit) is essential for smoothing the damaged area before applying the paint.
Masking Tape: Use masking tape to protect the surrounding areas from overspray.
Paintbrush or Applicator: A fine-tipped brush or paint applicator is ideal for applying the touch-up paint to small areas.
Rubbing Compound: This is used to smooth out any imperfections in the finish after the paint has dried.
Step 1: Clean the Area
Before you begin applying automotive paint, thoroughly clean the area around the damage. Use soap and water to remove any dirt, debris, or wax. Dry the area with a clean, lint-free towel. This ensures that no contaminants will interfere with the adhesion of the new paint.
If the damaged area is a scratch, chip, or dent, use a mild abrasive cleaner to remove any rust or debris from the exposed metal. Rust is a common issue when working with automotive paint, and it needs to be removed before painting.
Step 2: Sand the Area
Once the area is clean and dry, use fine-grit sandpaper (around 2000-grit) to sand the damaged area lightly. Sanding helps to smooth out any rough edges around the damage and creates a better surface for the paint to adhere to. It’s important to sand only the damaged area to avoid sanding the surrounding paint, which could make the repair more noticeable.
Be sure not to sand too aggressively. You only want to create a smooth, even surface, not to damage the underlying metal or plastic. Once you’re done sanding, wipe the area down with a clean, damp cloth to remove any dust or debris.
Step 3: Mask Off Surrounding Areas
Use masking tape and paper to cover the surrounding areas that you don’t want to paint. This will help prevent any accidental overspray from affecting the rest of your vehicle’s finish. Make sure the tape adheres well to the vehicle’s surface to ensure clean lines.
Step 4: Apply the Automotive Paint
Now, it’s time to apply the automotive paint. If you're using a small brush or an applicator, dip it into the paint and apply it directly to the damaged area. It’s essential to apply thin, even coats to avoid the paint from running or building up too much. If you’re using a spray can or airbrush, hold it a few inches away from the surface and use light, even strokes to apply the paint.
Allow the first coat to dry for about 10-15 minutes before applying a second coat. Multiple thin coats are better than one thick coat because they allow the paint to dry properly between applications.
Step 5: Apply Clear Coat
After the automotive paint has dried completely (usually after about 1-2 hours), apply a clear coat if your vehicle uses a base coat/clear coat system. The clear coat will protect the painted area, add a glossy finish, and ensure that the paint lasts longer. Use the same application method as the base coat, applying thin, even layers until the clear coat covers the paint.
Allow the clear coat to dry for at least 24 hours to ensure that it hardens completely. The drying time may vary depending on environmental factors such as temperature and humidity.
Step 6: Polishing and Buffing
After the clear coat has dried, you may notice some imperfections or rough spots on the surface. To smooth them out, use a rubbing compound and a microfiber cloth to polish the area gently. This will restore the shine to the painted area and ensure that it blends seamlessly with the surrounding paint.
If necessary, you can use a polishing pad or a machine buffer for more consistent results, but be careful not to overdo it, as excessive buffing can remove the paint and affect the overall finish.
Tips for a Successful Automotive Paint Touch-Up
Match the Color: Make sure you use the exact color code for your vehicle’s paint. Even small variations in color can make the touch-up job noticeable.
Thin Coats: Always apply thin coats of paint and clear coat. Multiple thin layers will provide a smoother finish and help prevent drips or uneven coverage.
Take Your Time: Don't rush the process. Allow sufficient time for each coat of paint and clear coat to dry fully before applying the next.
Work in a Well-Ventilated Area: Automotive paint contains chemicals that can be harmful when inhaled. Always work in a well-ventilated area, preferably outdoors or in a garage with proper ventilation.
Conclusion: The Role of Guangde Dulux Paint Industry in Automotive Paint Touch-Ups
Touching up automotive paint can be a simple yet effective way to maintain your vehicle's appearance and protect it from further damage. By following the steps outlined above and paying close attention to detail, you can achieve a professional-looking finish and restore your car’s appearance.
Guangde Dulux Paint Industry is dedicated to providing high-quality automotive paint that ensures durability, color accuracy, and a smooth, glossy finish. With their extensive range of paints and coatings, Guangde Dulux Paint Industry ensures that you have access to the right products for all your touch-up and automotive painting needs. Whether you are working on a small chip or a larger repair, their paints are designed to provide long-lasting results that match the original finish of your vehicle.


