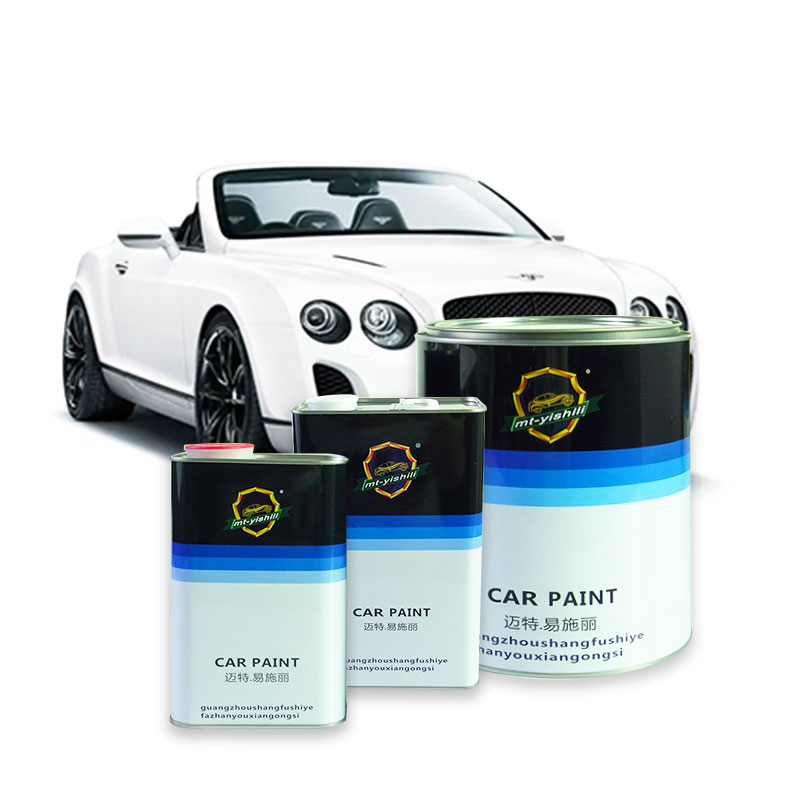
To the naked eye, white paint and white primer look identical in the can. This similarity often leads DIYers and project managers to make a tempting shortcut. They skip the primer entirely to save time and money. Unfortunately, taking this shortcut usually results in peeling surfaces, uneven sheens, and costly rework down the line. You simply cannot swap them without severe consequences.
While both liquids share a bright hue, their chemical formulations serve entirely different mechanical functions. Paint is engineered to look beautiful and resist harsh elements over time. Conversely, primer acts as an engineered anchor designed to stick to raw surfaces and create a stable foundation. We wrote this guide to provide a clear, chemical-level breakdown of both products. We will also take a critical look at popular "two-in-one" marketing claims. Finally, you will get a reliable decision framework to determine exactly what your current project requires.
Key Takeaways
- Different Chemical Jobs: White primer is formulated with high resin content to bind, seal, and block stains, whereas white paint prioritizes pigments and protective binders for surface durability.
- The Optical Advantage: Using a white primer specifically (rather than gray or black) acts as an optical reflector, reducing the number of topcoats needed for bright, light, or vibrant colors (like yellows, pastels, or clean whites).
- The "2-in-1" Limitation: "Paint and primer in one" products are generally just thicker paints; they do not replace the need for a dedicated primer on bare wood, fresh drywall, or slick surfaces.
- Interchangeability Risks: Using paint as a primer leads to peeling and high absorption; leaving primer unpainted leads to rapid chalking, dirt absorption, and UV degradation.
The Functional Divide: Formulation and Purpose
Manufacturers design paint and primer to perform fundamentally different jobs. You must understand their internal chemistry to appreciate their distinct roles. One product grips the substrate. The other product protects the entire system.
White Primer: The Anchor and Sealer
Think of primer as the foundational glue for your project. It prepares chaotic, porous, or slick surfaces for a flawless finish. It does not exist to look pretty. It exists to function.
- High Resin Ratio: Primer contains specialized bonding resins. These resins establish a strong mechanical and chemical bond on difficult substrates. They easily grip bare wood, fresh drywall, plastics, and metals. The high resin concentration acts like thousands of microscopic anchors locking onto the raw surface.
- Pore Sealing: Raw materials contain microscopic voids. If you apply paint directly, these voids absorb the liquid unevenly. Primer fills these tiny gaps effectively. It creates a smooth, uniform layer. This prevents subsequent topcoats from soaking into the material and looking patchy.
- Stain Blocking: Specific primer categories excel at encapsulation. Shellac or oil-based primers trap wood tannins, water stains, and smoke damage. They form an impenetrable barrier. This prevents ugly brownish-yellow stains from bleeding through your final pristine topcoat.
White Paint: The Shield and Aesthetic Shell
Paint serves as the protective armor. Once the surface is properly stabilized, paint delivers color, sheen, and environmental defense. It focuses heavily on aesthetics and durability.
- High Pigment-to-Resin Ratio: Paint prioritizes vibrant color coverage over adhesion. It contains a dense load of pigments. It also includes specific flatting agents to create various sheens like matte, satin, or high gloss.
- Environmental Resistance: Chemists formulate paint using robust additives. These additives withstand harsh UV rays, heavy moisture, and aggressive scrubbing. They provide the necessary armor to endure general wear-and-tear over several years.
- Low Adhesion on Raw Surfaces: Paint lacks essential biting agents. It cannot grip un-prepped, glossy, or highly porous surfaces effectively. If you apply it directly to an unprepared wall, it will eventually peel or flake off entirely.
| Feature | Primer | Paint |
| Primary Function | Adhesion, sealing, and blocking stains | Aesthetics, color, and surface protection |
| Resin Content | High (designed for bonding) | Moderate (designed for flexibility) |
| Pigment Content | Low to Moderate | High (designed for opacity) |
| UV & Weather Resistance | Very Low | Very High |
![White Paint vs White Primer]()
Why Color Matters: When to Choose White Primer Specifically
Color choice during the preparatory stage drastically impacts your final result. Choosing a White Primer offers distinct optical advantages for specific projects. It does much more than simply cover the wall.
Optical Reflection and Topcoat Vibrancy
Paint layers are rarely 100% opaque. They remain slightly translucent when dry. Light passes through the topcoat, strikes the underlayer, and bounces back to your eye. A bright white base reflects maximum light back through those semi-transparent layers. This reflection becomes essential for maximizing the opacity and brightness of high-visibility colors. If you plan to use bright yellows, striking reds, neon tones, or clean whites, a white undercoat is absolutely mandatory. It ensures your final color pops beautifully.
Drastic Color Transitions
Transitioning a room from deep navy blue to pale ivory presents a massive challenge. Dark pigments easily overpower light topcoats. A premium white undercoat provides the most efficient way to reset a dark wall entirely. It neutralizes the aggressive underlying hue quickly. Using a dedicated undercoat prevents you from applying four or five expensive coats of premium topcoat just to hide the old color.
Versus Gray or Black Primer
You might wonder why gray or black options exist. Industry standards dictate specific uses for different base colors. Gray provides excellent coverage tracking for mid-tones. It helps you see exactly where you applied your final coat. Black creates natural shadowing for metallic finishes. Professionals commonly use black bases in miniature painting or automotive touch-ups. However, neither gray nor black supports light topcoats as efficiently as a pure white base. Darker bases dull the vibrancy of pastel or bright topcoats noticeably.
The "Paint and Primer in One" Myth: Evaluating Marketing vs. Reality
Hardware stores heavily promote "2-in-1" products. They promise to cut your labor time in half. However, you must look past the aggressive marketing to understand their real-world limitations. They are not magic solutions.
What It Actually Is
Despite the catchy name, most "2-in-1" products are simply high-build, thicker viscosity paints. They contain more solids than traditional paints. This thickness allows them to hide minor surface imperfections better. However, they do not contain the dedicated bonding resins found in standalone preparatory coats. They cannot magically alter their chemistry to act as both a penetrative anchor and a protective shield simultaneously.
Where It Succeeds
These combo products do have a legitimate place. They are highly cost-effective and time-saving for simple repainting jobs. If you are painting previously painted, scuff-sanded walls, they work wonderfully. They excel when you are transitioning to a similar or slightly different color. The existing surface already provides a stable foundation, so the new liquid simply needs to adhere to the old, prepped layer.
Where It Fails (Implementation Risks)
Relying on a 2-in-1 product for challenging substrates guarantees failure. You must avoid them in the following scenarios:
- Raw Wood: These paints fail to block tannin bleed-through on raw woods like cedar or pine. Yellow streaks will ruin your finish within weeks.
- Fresh Drywall: They will soak directly into fresh drywall mud unevenly. This causes severe flashing, leaving you with ugly, inconsistent sheen patches across the wall.
- Slick Surfaces: They lack the intense chemical grip needed to bond to glossy materials. If you paint over previously oil-painted or non-porous surfaces, the new layer will scratch off easily.
Implementation Risks: The Cost of Improper Substitution
Swapping products indiscriminately leads to disastrous outcomes. Each liquid performs a unique task. Forcing one to do the job of the other wastes your resources and ruins your project timeline.
Risk 1: Using White Paint Instead of Primer
Applying standard paint directly to a raw substrate triggers two major failures. You will experience both the flaking effect and the sponge effect.
The Flaking Effect: Standard paint will dry perfectly fine on the surface initially. However, it fails to bond chemically. It essentially sits on top of the substrate like a loose blanket. After a short period, you can easily scratch it off using just your fingernail. Normal house shifting or slight bumps will cause massive sections to peel.
The Sponge Effect: Porous surfaces like bare drywall act like giant sponges. They absorb liquids rapidly and unevenly. Standard paint lacks pore-sealing properties. The wall will suck the moisture out of the paint unpredictably. You will end up requiring excessive, expensive coats just to achieve a uniform finish. A quality White Primer prevents this entire ordeal.
Risk 2: Leaving White Primer as the Final Coat
Sometimes, DIYers love the flat, bright look of their freshly primed wall. They decide to skip the topcoat entirely. This decision introduces severe structural degradation very quickly.
UV Degradation: Primers completely lack UV protectants. They are not formulated to endure direct sunlight. If left unpainted, the surface will yellow rapidly. The chemical binders will break down, turning the surface powdery and chalky within months.
Poor Washability: Manufacturers intentionally design primers to be highly porous. This rough microscopic texture allows the topcoat to grip securely. If left exposed, this porous surface acts like a magnet for environmental contaminants. It will eagerly absorb dirt, grease, and airborne moisture. You will find it physically impossible to clean the wall without scrubbing the layer off completely.
Decision Framework: Shortlisting Your Project Needs
Every project demands a tailored approach. Use this clear framework to determine your exact material needs before opening a single can.
Scenario A: You Must Use a Dedicated White Primer
Stop and apply a dedicated preparatory layer if your project matches any of these conditions. Skipping this step guarantees failure.
- The target surface consists of bare, unpainted wood, fresh drywall, or raw masonry.
- You need to cover existing water damage, stubborn smoke stains, or heavy wood knots.
- You are transitioning from a very dark, saturated color to a light, airy color.
- You are painting directly over a high-gloss surface or an old oil-based finish.
Scenario B: You Can Skip Primer and Use White Paint (or 2-in-1)
You can safely proceed straight to the final coating stage if your environment meets these specific criteria. You will save valuable time here.
- The surface is currently painted, perfectly clean, dull, and structurally sound.
- You are simply painting a fresh white coat over an existing light gray, beige, or off-white wall.
Next Step Action: Always perform a basic adhesion check first. Perform a cross-hatch adhesion test in an inconspicuous area. Alternatively, wipe the wall firmly using a damp dark cloth. If the cloth shows heavy chalking residue, you must stabilize the surface before applying your final layer.
| Project Condition | Required Product | Reasoning |
| Bare Wood / Drywall | Dedicated Primer | Seals pores and prevents the sponge effect. |
| Water Stains / Smoke | Stain-Blocking Primer | Encapsulates damage to prevent bleed-through. |
| Dark Wall to Light Wall | Dedicated Primer | Neutralizes dark hues efficiently, saving topcoat. |
| Clean, Light Painted Wall | Paint or 2-in-1 | Surface is already stable and properly sealed. |
Conclusion
White primer and white paint are completely different chemical tools. They are strictly sequential, never interchangeable. The primer tackles the heavy lifting. It binds securely to chaotic surfaces and neutralizes underlying damage. Once stabilized, the paint steps in to provide the final vibrant color and a durable, washable barrier against the elements.
Treat your preparatory layer as a mandatory insurance policy for your expensive topcoat. Always assess your substrate's current porosity and color state thoroughly. Only bypass the preparatory step when applying a similar color over a sound, previously painted wall. Following this discipline ensures a professional, long-lasting finish every single time.
FAQ
Q: Can I use white paint as a primer on bare wood?
A: No. Bare wood requires a primer to seal the pores and block natural tannins from bleeding through and discoloring the paint.
Q: How many coats of white primer do I need before painting?
A: Typically, one even coat is sufficient to seal the surface and provide adhesion. Two coats may be necessary if you are blocking heavy stains or drastically covering a dark, saturated color.
Q: Is white primer better than gray primer?
A: It depends entirely on your topcoat. White primer is better for light, bright, and warm colors. Gray primer is often preferred for mid-tones or cool colors because it covers easier and makes it simpler to see where you have applied your final coat.