Have you ever poured countless hours into meticulous surface preparation, only to watch rust bubble up through your freshly applied topcoat? Standard primers frequently fail when pushed to their limits in high-stakes environments. We see this often in automotive restoration, marine repair, and industrial coating sectors. Poor baseline adhesion, gradual moisture penetration, or unexpected chemical incompatibility quickly compromises the entire coating system. This leaves you facing massive re-work and wasted materials.
Epoxy Primer serves as the ultimate foundational barrier layer. It actively offers superior cross-linked adhesion and unmatched corrosion resistance to lock out moisture permanently. In this guide, we will clarify the exact use cases for these specialized coatings. We will comprehensively compare epoxy against standard alternatives like self-etching solutions and high-build urethane surfacers. You will learn a pragmatic, actionable framework for evaluating and applying the right primer for your specific project phase.
Key Takeaways
- Epoxy primer is primarily used as a direct-to-metal (DTM) or foundational layer to seal surfaces and block moisture (preventing rust).
- It outperforms self-etching and urethane primers in corrosion resistance but requires strict adherence to mixing ratios, induction times, and temperature controls.
- By adjusting the reduction ratio, a high-quality 2K epoxy primer can function as both a foundational base coat and a pre-paint sealer.
- Evaluating an epoxy primer requires assessing its solids content, VOC compliance, and the specific substrate compatibility of the project.
The Core Mechanics: Why Epoxy Primer Outperforms Standard Options
Standard 1K acrylic primers simply dry through basic solvent evaporation. They leave behind microscopic pores as the thinners escape into the atmosphere. The two-part system of an epoxy resin mixed with its dedicated hardener triggers a much more complex chemical reaction. We call this structural bonding process cross-linking. As it cures, it actively builds an incredibly dense, non-porous physical layer. Liquid moisture and atmospheric oxygen simply cannot penetrate this robust waterproof barrier.
Excluding oxygen and moisture forms the absolute baseline requirement for mitigating sub-surface rust. Once you seal bare metal correctly, the oxidation process stops completely. This isolating property makes it absolutely invaluable for long-term projects where parts sit unfinished for months. Traditional porous primers cannot offer this level of environmental protection.
Beyond environmental isolation, isotropic adhesion clearly sets it apart from cheaper alternatives. It bonds aggressively and mechanically to properly scuffed surfaces. The liquid resin grips deeply into the microscopic scratch profile. Once fully cured, it provides a highly stable chemical foundation. Powerful solvents found in subsequent body fillers or heavy topcoats will not attack it. This effectively eliminates the wrinkling, lifting, and delamination issues you commonly see over inferior base layers.
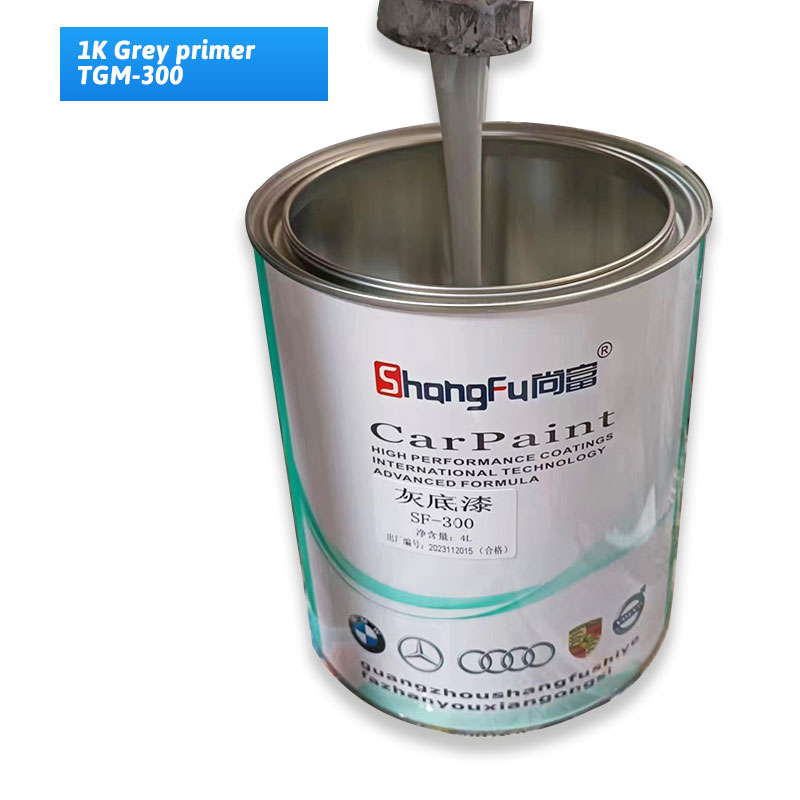
![Epoxy Primer Application]()
Primary Use Cases and Material Compatibility
Automotive Restoration and DTM (Direct-to-Metal)
You will frequently depend on direct-to-metal applications during extensive automotive restoration. It performs exceptionally well across bare steel, aluminum sheet metal, and galvanized panels. When you strip a vehicle down to its bare metal framework, microscopic oxidation begins almost immediately. Applying a high-quality Epoxy Primer rapidly locks down freshly blasted or mechanically stripped panels. It aggressively secures the clean substrate before any flash rust gets a chance to form. This buys you immense amounts of time during a long, complex vehicle build.
Fiberglass, SMC, and Body Fillers
Fiberglass and Sheet Molded Compound (SMC) require careful handling during panel repairs. These somewhat porous composite materials readily absorb aggressive solvents from topcoats. Epoxy acts as an outstanding chemical isolator here. It halts solvent penetration into porous body fillers and soft fiberglass resins. You can apply it safely directly over fully cured bodywork. This seals the repair area perfectly before you transition into applying sanding primers or basecoats.
Industrial, Marine, and Heavy-Duty Domestic
Harsh marine environments demand extreme, uncompromised protection against gelcoat osmosis. Boat hulls rely heavily on these waterproof barriers to prevent catastrophic water intrusion beneath the waterline. Similarly, heavy-duty domestic applications benefit immensely from this inherent durability. Think about concrete floor sealing in a busy home workshop. You need superior chemical resistance to engine oils, harsh cleaners, and constant mechanical abrasion. Epoxy consistently delivers the necessary resilience for these demanding home decorating and industrial challenges.
Epoxy Primer vs. Alternatives: A Decision Framework
Making the right choice depends entirely on understanding distinctly different chemical mechanisms. Here is how various technologies compare structurally and functionally.
Epoxy vs. Self-Etching Primer
Self-etching primer actively uses mild phosphoric acid to bite into bare metal. Conversely, epoxy relies heavily on strong mechanical adhesion and completely seals the substrate from the outside environment.
Verdict: Choose epoxy for long-term builds, diverse substrates, and heavy bodywork. Heavy body filler often fails completely when applied directly over an etch primer due to severe acid reactions. Epoxy safely accepts body filler applied directly over it.
Epoxy vs. Urethane Surfacer
Urethane surfacer functions primarily as a high-build product. It efficiently fills deep sanding scratches and sands very easily. Epoxy applies as a much lower-build film and cures significantly harder. This structural hardness makes it notoriously difficult to block-sand manually.
Verdict: Use epoxy exclusively as your initial bare-substrate sealer. Follow it up later in the process with a thick urethane surfacer for block-sanding and final surface leveling.
The "Sealer" Application (Advanced Use)
You can easily transform standard epoxy into a highly effective non-sanding sealer. You achieve this neat trick by adding a specific percentage of urethane reducer. Typically, adding 10% to 20% reducer thins the thick mixture considerably. This allows it to lay down exceptionally flat on the panel. You apply this reduced layer immediately before spraying your color basecoat. It establishes a uniform color foundation and maximizes ultimate topcoat adhesion.
| Feature Matrix | Epoxy Primer | Self-Etching Primer | Urethane Surfacer |
| Primary Function | Waterproof sealing & maximum adhesion | Acid-etching bare metal quickly | High-build filling & easy sanding |
| Corrosion Resistance | Excellent (Non-porous barrier) | Good (Chemically bonded) | Poor (Porous, absorbs moisture) |
| Body Filler Compatibility | Excellent (Highly recommended) | Poor (Acid causes filler failure) | Good (But usually applied over filler) |
Implementation Realities: Risks, Prep, and Flash Times
Even the highest-quality materials fail catastrophically if you ignore proper implementation guidelines. Careful application makes all the difference.
Surface Preparation Thresholds
You must respect strict surface preparation thresholds to guarantee success. It will literally peel off smooth, unprepared surfaces in massive sheets.
- Mechanical Tooth: Epoxy requires a definitive mechanical tooth to bond correctly. We highly recommend leaving uniform 80-120 grit scratches across the entire bare substrate.
- Chemical Cleanliness: Absolute chemical cleanliness remains equally vital. You must use dedicated wax and grease removers before spraying to eliminate invisible contaminants.
Induction Time
Once mixed thoroughly, pay close attention to the specific induction time. Many modern formulas mandate a waiting period after mixing the base resin and the activator hardener. This mandatory resting period often lasts exactly 30 minutes. It allows the complex chemical reaction to stabilize before you begin spraying. Skipping this critical step often causes frustrating curing failures or soft spots.
Pot Life and Temperature Sensitivity
Pot life dictates your actual working window. This represents the exact time before the catalyzed product hardens permanently inside your spray gun. Always mix only what you can comfortably shoot within this limited timeframe.
Furthermore, temperature sensitivity plays a massive role in application success. Most epoxies simply stop cross-linking when ambient temperatures drop below 60°F (15°C). Spraying in cold conditions directly risks permanent failure. The coating will remain sticky, gummy, and never achieve a full chemical cure.
Recoat Windows
Finally, track your recoat windows very carefully to ensure inter-coat adhesion.
- Manufacturers define a maximum time allowance before the layer fully cures (often 3 to 7 days).
- If you apply subsequent coats within this open window, they bond chemically and melt into the previous layer.
- Once the window completely closes, the surface glosses over and hardens permanently.
- You must mechanically scuff it again to accept new layers safely.
Shortlisting Logic: How to Choose the Right Epoxy Primer
Selecting the absolutely correct product determines your entire project's lifespan. Follow these strict criteria when evaluating your coating options.
2K (Two-Part) vs. 1K (Aerosol)
True 2K systems remain mandatory for maximum durability and chemical resistance. Single-component 1K aerosols completely lack cross-linking hardeners. They remain susceptible to solvent attack and eventual fading. However, we readily acknowledge 2K aerosols. These clever cans feature internal hardener plungers. You pop the internal seal before spraying. They serve as a highly viable, convenient middle-ground for small spot repairs.
Solids Content
High-solids formulations differ significantly from standard mixtures. Higher solids yield a much better film build per single coat. You need fewer passes to achieve proper protective thickness. However, they require larger fluid tips on your spray gun (usually 1.4mm to 1.8mm) to atomize properly. Standard formulations flow easier but require more coats.
Compliance and Safety
Always review your local VOC regulations carefully. High-solids options often comply much better with strict environmental rules. Personal safety remains absolutely non-negotiable. You must wear proper Personal Protective Equipment (PPE) at all times. This heavily implies using a supplied-air respirator or a specialized mask specifically rated for filtering dangerous isocyanates and fine epoxy particulates.
Brand Agnostic Success Criteria
Look strictly beyond flashy marketing claims. Ensure the manufacturer provides crystal clear Technical Data Sheets (TDS). A reliable TDS covers exact induction times, specific reducer pairings, and strict film thickness limits. If a brand hides this data or offers vague mixing instructions, you should choose another product entirely.
Conclusion
We have established the core mechanics and distinct advantages of these specialized coatings. Following these guidelines ensures your finish survives the toughest conditions.
- Final Verdict: Epoxy primer is not a universal, fast-drying shortcut. However, it remains the absolute mandatory starting point for projects demanding maximum longevity and superior corrosion resistance.
- Next Steps: First, audit your project's specific substrate materials carefully. Next, strictly review your environmental controls, ensuring adequate temperature and ventilation in your workspace. Finally, download and thoroughly read the exact Technical Data Sheet (TDS) of your shortlisted product before finalizing any purchase.
FAQ
Q: Can you apply epoxy primer directly over rust?
A: No. It encapsulates but does not chemically convert existing rust. While it blocks future moisture, active rust underneath will eventually spread and cause blistering. Complete mechanical removal of rust is strictly required for long-term guarantees and successful adhesion.
Q: Can I apply body filler over epoxy primer?
A: Yes. It is widely considered best practice in high-end automotive restoration. Applying filler over a sealed surface prevents moisture from reaching the bare metal. You just need to ensure the primer remains within its active recoat window to achieve proper chemical adhesion.
Q: Is epoxy primer waterproof?
A: Yes. Once it fully cures, the cross-linked chemical barrier becomes completely non-porous and waterproof. This strictly differentiates it from urethane or acrylic primers. Those standard primers remain porous and easily absorb moisture if left exposed without a topcoat.
Q: How long does epoxy primer take to dry?
A: Drying times vary heavily based on ambient temperature. "Flash time" between applied coats usually takes 10 to 30 minutes. The surface becomes "touch dry" in a few hours. A "full chemical cure" requires several days. Always consult your specific technical data sheet for exact times.