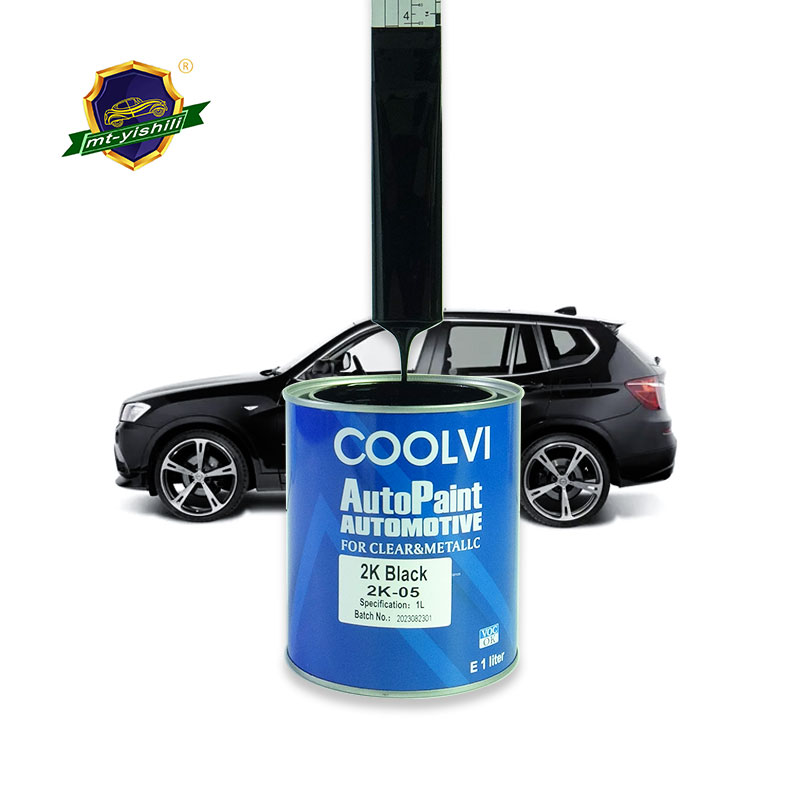
Achieving an OEM-quality finish requires a transition from standard aerosols. You must move to a catalyzed two-component setup. This chemical upgrade provides professional results. While 2k Acrylic car paint offers superior chemical resistance and gloss retention, it introduces zero-margin-for-error variables. You face strict stoichiometric mixing ratios. You deal with limited pot life. You must manage severe respiratory hazards. This guide breaks down the technical execution of this process. It covers mandatory safety compliance and environmental controls. You will learn how to evaluate, mix, and apply a 2K system successfully. Our steps ensure you protect your health while achieving a flawless final finish.
Key Takeaways
- Safety is a hard prerequisite: 2K paints contain isocyanates; a continuous flow air-fed mask and full skin protection are mandatory, not optional.
- TDS is your blueprint: Always default to the manufacturer’s Technical Data Sheet (TDS) for exact paint-to-hardener-to-thinner ratios (commonly 2:1 + 10-20%).
- Temperature dictates materials: The selection of activator/hardener speed (Fast, Standard, Slow) must align precisely with your ambient booth temperature.
- Pot life dictates workflow: Once mixed, the chemical cross-linking begins immediately, giving you a fixed window (usually 2–4 hours) to complete the application.
The Safety Mandate: Evaluating and Equipping Proper PPE
Working with two-component materials introduces significant health risks. You cannot treat catalyzed systems like standard household aerosols. Proper personal protective equipment (PPE) remains the primary barrier between you and severe medical conditions. We must address these risks before opening a single can of product.
Understanding Isocyanate Risks
Two-component hardeners contain toxic compounds known as isocyanates. These chemicals serve as the cross-linking agents. They force the paint to cure into a durable plastic shell. However, standard carbon or particulate respirators cannot filter them reliably. Isocyanates lack an odor warning property. You will not smell them when a standard filter breaks down.
Exposure happens through two primary routes. First, inhalation occurs when you breathe atomized spray. Second, skin absorption happens when overspray lands on unprotected tissue. Both routes can lead to severe allergic sensitization. Once sensitized, you can suffer intense asthma attacks upon any future exposure.
Common Mistake: Relying on a half-mask organic vapor respirator. Many applicators assume carbon cartridges provide enough safety. They do not. Cartridges saturate quickly and offer zero warning before harmful chemicals pass through into your lungs.
Required Equipment Checklist
You must invest in specialized safety gear before starting any spray session. A complete setup requires several interdependent components.
- Respiratory: You need an air-fed supplied-air respirator (SAR) system. A dedicated remote compressor pumps clean, breathable air into a sealed full-face hood. This positive pressure prevents any atomized fumes from reaching your lungs.
- Skin & Eye Protection: Wear a disposable Tyvek or lint-free spray suit with a hood. Use heavy-duty nitrile gloves. Tape the glove cuffs to your suit sleeves. If you use a half-mask SAR, you must wear fully sealed, splash-proof goggles.
- Ventilation: Your workspace requires aggressive air extraction. A cross-draft or downdraft booth design pulls overspray away from your body. Fans must feature explosion-proof motors to clear solvent fumes safely.
| PPE Category | Required Gear | Safety Function |
| Respirator | Supplied-Air Respirator (SAR) | Delivers fresh air, bypassing local toxic fumes entirely. |
| Body Suit | Tyvek suit with hood | Blocks isocyanates from entering pores and prevents lint contamination. |
| Hand Protection | Nitrile Gloves (taped) | Stops solvent absorption and prevents skin sensitization. |
Deciphering the 2K System: Ratios, TDS, and Material Selection
Purchasing the correct materials requires strategic planning. You must evaluate your specific environmental constraints. Shop temperature and humidity dictate exactly which hardeners and thinners you buy. This preparation separates professional results from costly failures.
Reading the Technical Data Sheet (TDS)
The Technical Data Sheet (TDS) serves as your single source of truth. Ignore generalized forum advice. Disregard "rule of thumb" estimations. The chemical engineers who formulated your specific product wrote the TDS. You must read it thoroughly.
Every TDS contains a critical metric checklist. Look for these four data points:
- Volume Ratio: The exact proportion of base to hardener. Typical ratios include 2:1, 3:1, or 4:1.
- Viscosity: The fluid thickness, usually measured in DIN seconds. You test this using a DIN 4 flow cup.
- Flash-off Time: The mandatory waiting period between coats. It allows trapped solvents to evaporate.
- Pot Life: The total time you have to spray the mixture before it hardens in the cup.
Example TDS Metric Chart | Parameter | Typical Measurement | Impact on Application |
| Volume Ratio | 2 Parts Base : 1 Part Hardener | Dictates structural cure. Incorrect ratios cause soft paint. |
| Viscosity | 16-18 DIN seconds @ 20°C | Affects atomization. Too thick causes orange peel. |
| Flash-off | 10-15 minutes | Prevents solvent entrapment and popping. |
| Pot Life | 2-4 hours | Determines maximum working window per batch. |
Choosing the Right Hardener and Thinner
Manufacturers offer different speeds of activators and reducers. You must match these speeds to your ambient booth temperature. Selecting the wrong speed ruins the finish chemistry.
- Fast Activator: Choose this for spot repairs. It also works best in cold ambient temperatures, typically below 65°F (18°C). It speeds up the chemical reaction.
- Standard Activator: Use this for painting one or two panels. It performs optimally in moderate climates around 70°F (20°C).
- Slow Activator: Reserve this for complete vehicle resprays. It is mandatory for high-heat environments. A slow hardener prevents premature flashing, keeping the edge wet and eliminating dry spray.
Best Practice: Always measure your booth temperature right before mixing. Metal panel temperature often reads lower than the surrounding air. Use an infrared thermometer to verify the substrate temperature.
![Mixing and Applying 2K Acrylic Paint]()
The Step-by-Step 2K Acrylic Mixing Process
Precision matters deeply during the mixing stage. A casual approach guarantees material waste. We rely on a strict standard operating procedure. This systematic workflow ensures every batch cures perfectly.
Tools Required for Precision
Eyeballing ratios never works. You need dedicated measuring equipment to hit stoichiometric targets.
- Calibrated mixing cups: Buy transparent cups printed with vertical scale columns. Look for 2:1, 3:1, and 4:1 markings.
- Paint mixing sticks: Use clean, lint-free wooden or metal stirrers.
- Cone strainers: Keep 190-micron strainers for solid colors. Use 125-micron strainers for fine metallics or thin clears. Strainers catch unmixed clumps and dust.
The Mixing Sequence
Follow these exact steps to ensure complete chemical integration. Rushing this process leads to weak spots in the cured film.
- Step 1: Agitation. Open your base tin. Thoroughly stir the base 2k Acrylic car paint to reintegrate settled pigments. Heavy solids often sink to the bottom during storage. Scrape the bottom of the can.
- Step 2: The Hardener. Place your calibrated cup on a flat surface. Pour the base material up to the desired volume mark in the '2' column. Next, pour the corresponding hardener up to the matching mark in the '1' column.
- Step 3: The Reducer/Thinner. Check your TDS for thinning requirements. Add the recommended percentage of 2K thinner. This usually falls between 10% and 20%. Thinning lowers the viscosity so the spray gun can atomize the fluid properly.
- Step 4: Integration. Insert your mixing stick. Stir thoroughly for at least two minutes. Scrape the sides and bottom of the cup repeatedly. Unmixed resin clinging to the plastic will cause soft spots on your panel.
Application Strategy for a Flawless Finish
Your mixed material now sits in the cup. The pot life clock has started. Next, we translate that perfectly mixed liquid into a glass-like finish on the panel. Success requires meticulous gun setup and a disciplined spraying technique.
Gun Setup and Environment Checks
Before pulling the trigger, verify your mechanical baseline. Your air compressor must deliver adequate volume (CFM) to support the gun continuously. Starving the gun of air causes immediate texture problems.
Attach a high-flow regulator directly to the spray gun inlet. Set the dynamic inlet pressure according to the gun manufacturer's recommendation. HVLP and LVLP guns typically operate best between 26 and 29 psi with the trigger pulled halfway (air flowing). Finally, ensure the substrate is immaculate. You must fully prep, degrease, and tack off the panel. Any lingering silicone or dust will ruin the coat.
The Spraying Methodology
Applying the product requires a rhythmic, consistent motion. You must control your body mechanics to maintain an even film build.
- Distance and Overlap: Keep the gun tip exactly 6 to 8 inches away from the panel. Move parallel to the surface. Never arc your wrist. Aim for a 50% to 75% fan overlap on every pass to ensure continuous coverage.
- Coat Structure: Start with a light to medium grip coat. This first pass provides a textured base for subsequent layers to bite into. Wait for the designated flash-off time. Then, apply one to two full wet coats to build gloss.
- Flash-Off Importance: You must wait between coats. Trapped solvents will ruin the finish if you spray the second coat too early. Perform the "string test". Touch the masking tape adjacent to the panel. If the overspray feels sticky and pulls a tiny string of paint, you can apply the next coat. If it transfers wet liquid to your glove, you must wait longer.
Common 2K Application Risks and Troubleshooting
Even experienced applicators encounter defects. Recognizing the visual cues of a failing finish allows you to adjust your technique. We highlight these expert lessons to build your troubleshooting skills and prevent costly rework.
- Orange Peel: This texture resembles the skin of an orange. It happens when the paint droplets fail to flow together. Causes include under-thinning the mixture, insufficient air pressure at the gun, or spraying too far from the panel. Increase your air pressure or add a slightly slower thinner to improve flow.
- Solvent Pop: Tiny pinholes appear on the cured surface. This defect results from applying coats too heavily. It also happens when you fail to respect flash-off times. The surface skins over, trapping wet solvents underneath. When those trapped solvents finally evaporate, they boil through the curing surface, leaving craters.
- Runs and Sags: Gravity pulls wet material down the panel. Runs occur when you use a hardener that is too slow for the ambient temperature. Moving the spray gun too slowly or applying too much material at once also causes sagging. Keep your passes moving at a steady, brisk pace.
- Loss of Gloss (Dieback): A brilliant wet finish turns dull after a few days. Dieback often points to inadequate booth ventilation. High humidity during the spray session traps moisture in the film. Incorrect mixing ratios also disrupt the cross-linking, causing the surface to lose its shine.
Conclusion
Transitioning to a catalyzed spray system represents a massive upgrade in quality. It yields professional durability, chemical resistance, and brilliant gloss. However, success demands strict respect for technical and safety parameters. You must prioritize your health by using a supplied-air respirator system. Before pouring any liquids, verify your ambient booth temperature and select the matching activator speed. Always double-check your mixing ratios against the current Technical Data Sheet. When you prepare the workspace meticulously, your precision in the mixing cup translates directly to a flawless finish on the panel. Respect the chemistry, protect your lungs, and follow the data.
FAQ
Q: Can I spray 2k acrylic car paint with a standard carbon respirator?
A: No. 2K paints contain isocyanates which are odorless and highly toxic. Carbon filters do not reliably absorb them or warn you of breakthrough. A supplied-air respirator (air-fed mask) is the only recognized safe method.
Q: What happens if I mix 2K paint without hardener?
A: The paint will never chemically cure. It will remain soft, tacky, and highly susceptible to solvent damage, requiring a complete strip-down and rework of the panel.
Q: How long does mixed 2K paint last in the cup?
A: This is known as "pot life" and varies by brand, temperature, and hardener speed. Typically, you have between 2 to 4 hours to spray the product before it begins to gel and becomes unusable.
Q: Do I need a clear coat over 2K acrylic paint?
A: Direct Gloss (solid color) 2K acrylics do not require a separate clear coat, as the gloss and UV protection are built into the single-stage matrix. However, 2K basecoats (metallic/pearl) do require a 2K clear coat to protect the finish.